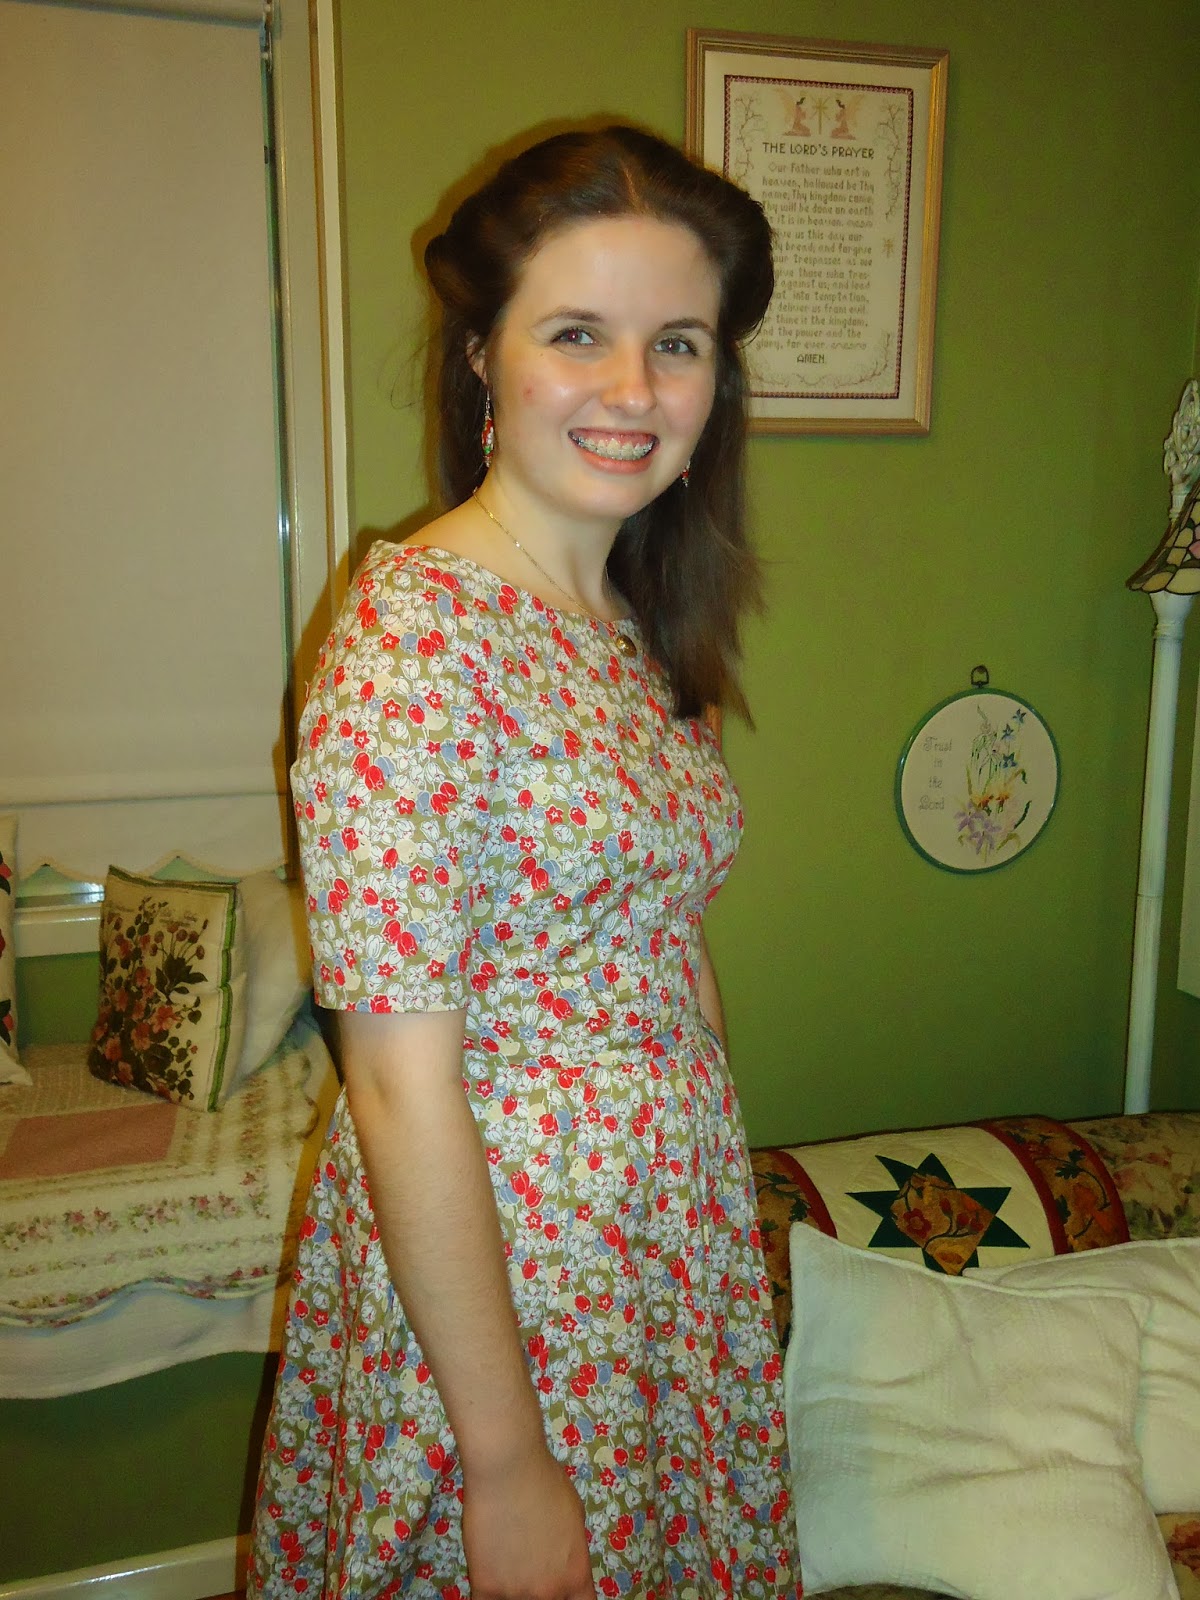
This is the first dress I cut out and sewed up, and the second I finished. I actually finished it a few weeks ago, but haven't been able to share it. I wore it once, but in my hurry to finish it, and my unawareness of the importance of correct sewing procedure I had left all seams unfinished. Trust me, trimming and zig zaging each seam after you have completed the entire dress is not fun. I got that done, but only got around to washing it this week, and then finally today I wore it again, and was determined to get photos.
Of course this is one of my Simplicity 2444 dresses. I feel fantastic wearing this pattern. This dress is going to be worn so much. I specifically designed it with the sleeves that length so I will be able to wear it winter and summer. I have a beautiful red wool coat I am dying to wear with it. This dress has actually been in the works for so long, when I first cu it out I was determined to get in a few wears with the red stockings and coat combination. Oh well, there is always this coming winter.
Pattern: Simplicity 2444
Size: 12
Adjustments: I cut the sleeve length between cap and three quarter, at the lengthen/shorten line
Fabric: Cotton from Spotlight. Red, blue and white flowers on an olive green background
Notions: 22 inch invisible red zip. This was my first inserted by machine.
Wear with: Summer it creates it's own outfit, but I do want to find red pumps. Winter; red coat, red stockings, brown boots and a pale blue scarf
Make Again: Yes! I already have
Sunday, 23 February 2014
Monday, 17 February 2014
Vintage Cotton Mathilde Blouse
I made my first Mathilde blouse. I am so very excited. I originally bought the pattern to use with some stunning blue floral drapey cotton, and this one was made as my wearable muslin, bu I will be wearing it very much.
I was planning on making my muslin out of an old sheet, but my Mum encouraged me to find some real fabric in case it turned out. I picked this out of my grandma's stash, thinking it wasn't that nice, but now I am in love with the fabric; it's just a very different colour to what I normally wear.
The pintucks took a good while (I now know it is not optional to mark the crease line) and I ha to put it to the side for a few days whilst I worked out how to use the buttonhole foot on my machine, but now it's all sorted. I can do zips and buttons now which is going to expand my repertoire. I made sure I used a green thread for the pintucks and hem. Done in a matching or contrasting colour makes them stand out.
I found it an easy make, bolstered by Tilly's excellent online instructions. I now feel confident enough to make the next one on my own. Oh, and there will be plenty more; short sleeves, gathered, sleeveless. I am even planning on how I can make an Edwardian inspired version with insertion.
Pattern: Tilly and the Buttons Mathilde Blouse
Size: 3
Adjustments: None, followed the pattern exactly
Fabric: Green, orange and pale pink floral; my grandma's stash
Notions: Seven red buttons; grandma's stash
Wear With: Most skirt shapes, either tucked in or out
Make Again: most definitely
Tuesday, 11 February 2014
Vintage Pattern Pledge
I have decided to take part in Marie's Vintage Pattern Pledge for 2014. It's rather natural as i was planning on sewing my way through my grandma's pattern stash regardless. The majority of her patterns date from the 1970s, but most have very classic silhouettes, so I can make 1940s and 1950s styles from them.
I, Kaitlyn, pledge to sew up six of my vintage patterns this year.
Six sounds very ambitious, but I think it will be doable, and hopefully fore me to focus on the patterns I have rather than always hunting down new patterns.
I, Kaitlyn, pledge to sew up six of my vintage patterns this year.
Six sounds very ambitious, but I think it will be doable, and hopefully fore me to focus on the patterns I have rather than always hunting down new patterns.
An Unsure Refashion
I found this shirtwaist at the opshop the other week. I like the gingham, it fit, and it had a lovely pleating detail at the waist. However, it reached to my ankles and looked incredibly frumpy. It was probably from the 1980's but I could tell there was a 1950s housewife look hiding somewhere in there.
I set to work, and within an hour I had it shortened. I cut it off right to my knee, as I wanted to make sure it didn't look too frumpy. A very easy refashion, and I was thrilled with my new dress.
I did it up with the red headscarf I talked of in my last post. Feeling very proud of myself, I went off to meet my boyfriend. Whilst he thought the dress looked good on me, he also thought it made me look like a twelve year old school girl; a sentiment shared by both his flatmate and his mother. Hm... not particularly the look I was going for, when I was trying to channel some 1950's housewife at home.
So, what to do now? I love the dress; it's completely cool and comfortable, but it may have to be relegated to the wear at home pile unless I find another way to wear it that doesn't make me look so young...
At least my other sewing projects I have planned make me look more my age.
Sunday, 2 February 2014
Simplicity 1606 Summer Polkadot Dress
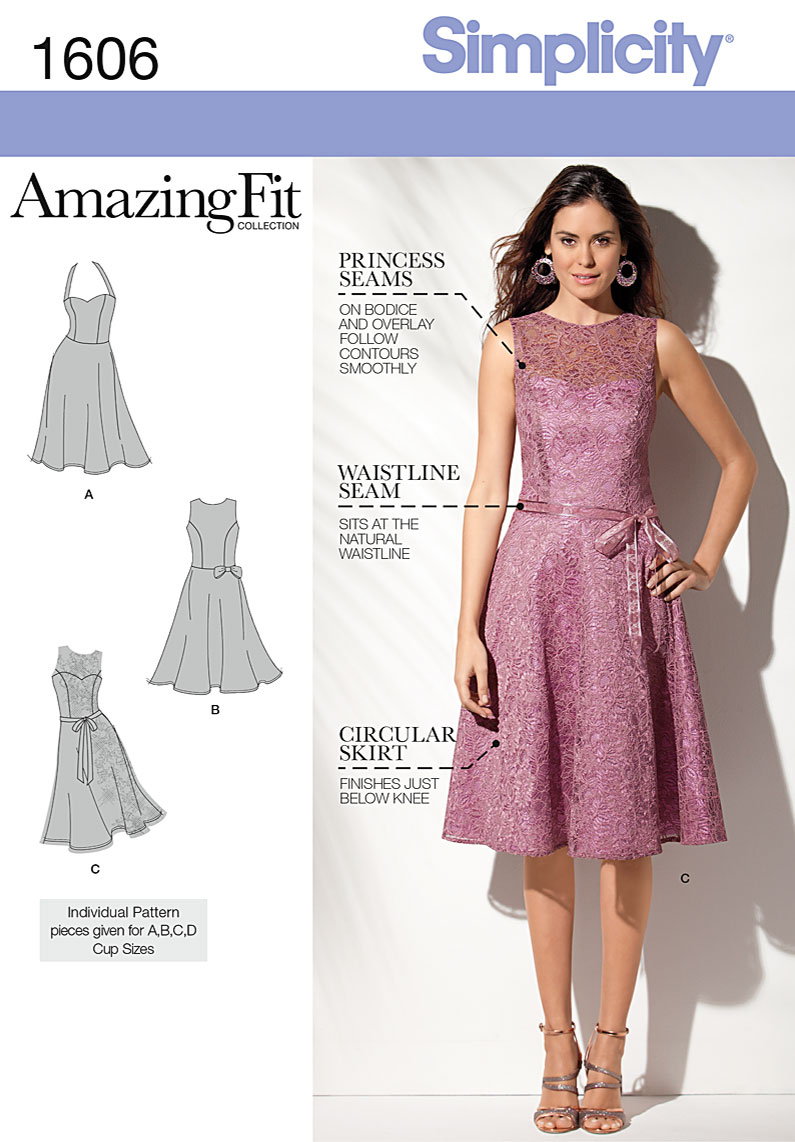
Another finished dress! This time it's from Simplicity 1606 Amazing Fit Pattern.
I bought this pattern because I wanted a basic princess seamed bodice, and also because I love the look of lace overlayed bodices. I know this pattern is going to get a lot of use.
I cut a straight 12 with the B cup and the fit was mostly good, but next time I make this dress I'm going to do a proper fit of the bodice. The keyhole opening in the back gaped a fair bit, so I took a quick tuck in the shoulders once it was finished.
The fabric I used is a thick white cotton with a tiny navy blue polka dot. I knew it would work perfectly for this dress. I lined the bodice with a very soft white cotton, so it's perfect for summer. This was my first go lining a bodice, and i was pleased with how easy it turned out to be. In fact, I sewed up the entire dress, save the zip and hem in a few hours.
It was also my first go putting a zip in a lining. I just attached it to the dress and then slip stitched down the lining. I'm very happy with how it turned out. The hem was done by machine.
I finished this dress in time for my very social Sunday. Firstly I wore it to my best friend's moving out of home party (she is only moving closer to uni, so I'll still be able to see her a lot) she was telling anyone who would listen that I'd made my dress!
Then that afternoon and evening my boyfriend had got us free tickets to Laneway Music Festival. It was at the Sydney College of the Arts which is an absolutely stunning sandstone complex. It was a fantastically relaxed afternoon and evening, and I'd never seen so many hipsters in one place in my life.
I decided I wanted to complete my outfit with some red! My search for red shoes has not been forthcoming. I did Blue Ginger Doll's Pinup Headscarf in red top stitched in navy, it was the perfect finish to the outfit, and I did notice that a lot of girls were wearing similar scarves in their hair.
1606 will certainly be going with 2444 as a go to dress pattern.
Subscribe to:
Posts (Atom)